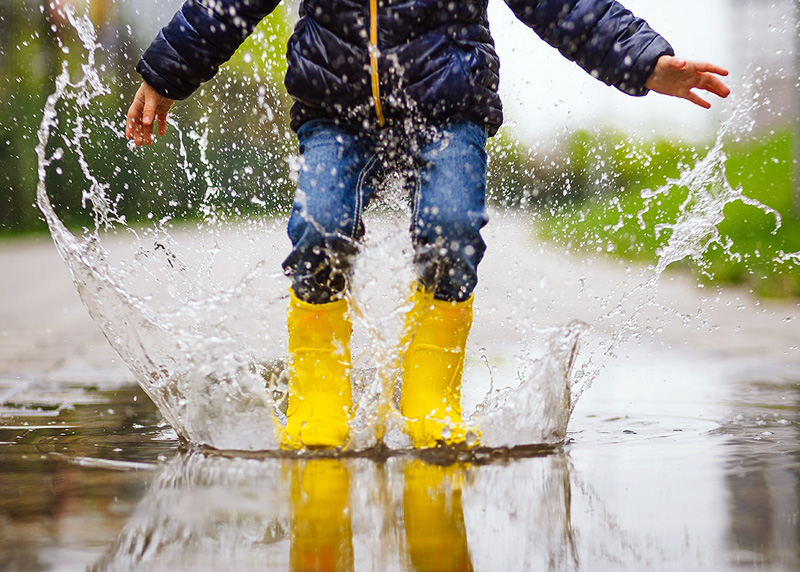
This classic activity encourages early childhood students to explore puddles after a rainy day. Students will learn about concepts of water displacement and measurement while simultaneously building social skills. Extensions include making splashes with other objects and using standard measurement tools to track the size of a splash. Let’s (puddle) jump in!
Objectives
| Foster sensory exploration. |
| Build gross motor skills. |
| Experiment with cause and effect. |
| Build problem-solving skills. |
Recommended Materials
• Rain boots
• Natural items such as sticks, stones, berries, leaves, etc.
• Measurement tools such as a meter stick or a yardstick
• School Signals Let’s Measure Water Splashes Worksheet (for 1st, 2nd and 3rd grades)
Grade Levels
Pre-K, Kindergarten, 1st grade, 2nd grade, 3rd grade
Details
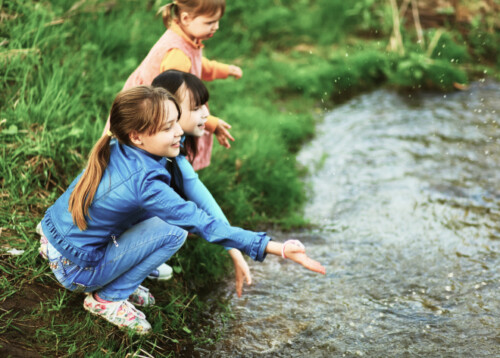
Part 1: Explore Puddles with Students
After a rainy day, point out puddles in your play space. Ask students, “Where did this water come from?” or “Why is the water still here after the rain?”
Access children’s background knowledge by discussing where they have seen puddles before or how they have played in them previously. Compare different puddles and note their features; identify the deepest, widest, shallowest, murkiest, etc., building vocabulary as you discuss.
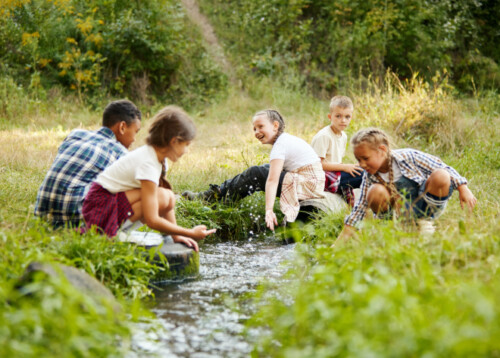
Allow students time to splash in the puddles together. Notice the ways they interact with them. As they play, scaffold social skills like turn-taking, respect for others’ ideas, etc. This is also a time to promote spatial awareness, as children negotiate for space around the puddle.

Part 2: The Highest Splash
Once children have explored the puddles, introduce a challenge: Who can make the highest splash?
Prior to experimenting, ask children to determine how they will measure the height of the splashes. Will you be the judge? Will they nominate a student who doesn’t want to splash as the judge? What will they use to measure?
Once the plan is established, let children determine how they will take turns attempting the challenge. Then, let them experiment.
Who can make the highest splash? How will you measure the splash?

Part 3: Discuss and Extend
After the challenge, discuss the results with students. Some possible questions include:
“How/why did _____ create the highest splash?”
“Was the highest splash also the widest splash? Why do you think that is?”
“How could you make a bigger splash next time?”
If children are still engaged, let them take a second turn to make the highest splash, or start a new challenge to make the widest splash.
How do you make a wide splash?
Extensions
Splashing Objects
Collect various nature objects like sticks, stones, leaves, berries, etc., and allow students to experiment with the size of the splashes they make. Students may begin to notice that some items sink and some items float, providing a jumping-off point for new inquiries.
Measuring Splash Zones
Older students (Grades 1, 2 and 3) may use standard measurement tools to determine the size of students’ or objects’ splash zones. They might record and compare their measurements as they test theories.
Download
School Signals Let’s Measure Water Splashes Worksheet (PDF)